Tips for Choosing a Pattern

So it’s always tricky trying to choose which pattern to make. Especially when the pictures on the front of patterns are so uninspiring and never look fashionable. Sometimes I wonder if they make them deliberately unfashionable so they are rubbish in whichever decade they sell them in!… anyway… Here are a few things I do before I choose a pattern, and I hope they’ll help you too. You don’t need to do all these things, and if you have any tips of your own, be sure to comment below to share them with others.

How to choose a Pattern

The first thing to do is decide which garment you wish to make… Dress, Skirt, Trousers etc… thats the easy bit! Once you know that you can start searching for the ‘look’ you would like to achieve. To do this I have either an online search or pop into town for a little inspiration.

Online…

I subscribe to lots of shop and designer email newsletters, this gives you a little inspiration in your inbox every day. I love to look through them either when eating my breakfast or my lunch. I find it keeps me up to date with the latest trends and… I always pick shops and designers I love, but can’t always afford to shop at!

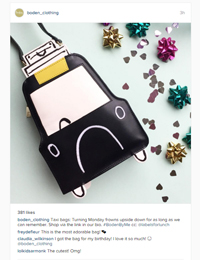
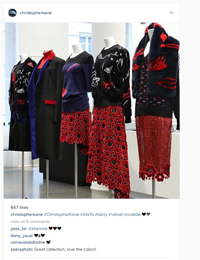
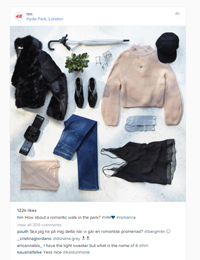
Lots of the shops, designers and celebrities I love, I also follow on instagram, this is a great place not only to get inspiration of shapes and garments but also colours and fabric to use. It’s great to follow bloggers on instagram too.

boden clothing christopher kane hm songsofstyle

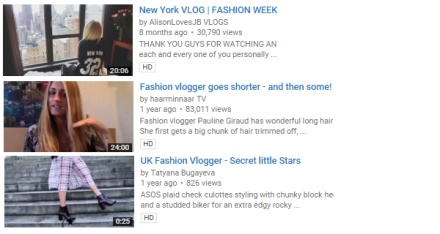
Bloggers & Vloggers… These are like magazines on your computer, and as a self confessed magazine-a-holic I am fast becoming a Blog and Vlog-a-holic. Some Vloggers on YouTube also do ‘Hauls’ where they share things they have bought recently. It’s a great way to find out whats in the shops, edited down so you don’t have to trawl them yourself.

vlog

Pinterest… This is one of my favourite idea factories. I don’t really type in for sewing project ideas unless I want to make something crafty. I tend to search for things like ‘Wedding outfit inspiration’ or ‘Autumn outfit ideas’ or ‘Winter Coat 2015’ and the inspiration just keeps coming. Sometimes I also search for celebrities who’s style I love.

In the Flesh…

As I said before I am a magazine-a-holic, and I also subscribe to fashion magazines as well as sewing ones. They are a great way to find out what looks you would like to create yourself, and get an eye for the style you love.

Before buying a pattern or fabric I always have a walk around my favourite shops. Not always the ones I buy from either… yes you will of

Look at others… My friends have amazing style and usually a bigger bank balance than me, so I always look at things they are wearing for inspiration too.

When you are using all these avenues to get ideas from, you need to know what to look for. So here is what to keep an eye out for, and maybe even make notes on;

  • The Shape of the Garment – Look at where the seams lie, the length of sleeves etc.
  • How it Hangs – Does it drape or does it hold it’s shape?
  • The Fit – Are there Darts or seams to make it fitted?
  • Fastenings – Look out for where the fastenings are, what they are and how it effects the garment
  • Features – Do they have a peplum? Look at the shape of the neck, cuffs etc.
  • Fabric – Are you warming to a particular fabric or colour?

All these things will help you then decide which pattern you would like to wear the most having made it.

Finding a Pattern…

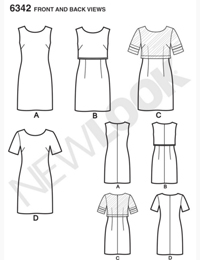
When choosing the pattern you need to bare all the above findings in mind and DO NOT LOOK AT THE PICTURE ON THE FRONT OF THE PATTERN. Yes I know that’s a bit extreme, and I am shouting! But the picture on the front of the pattern is always really rubbish! Never ever use this as a guideline for the garment you are making. On every pattern there is a line drawing of the garment. This is great to see the shape and seams of the garment without being persuaded by fabric choice and styling. See how the inspiration I saw for a dress led me to choose this Newlook Pattern?… The line drawing made me choose it, not the picture of the girl on the pattern.
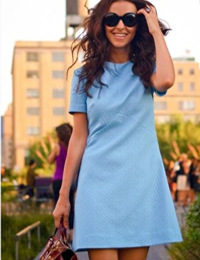
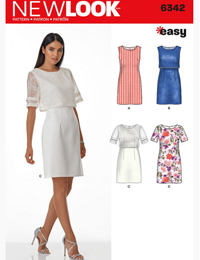
dress inspirationDress PatternBack Pattern View

Once you have chosen the pattern, be a bit more sure by searching on google or Pinterest for the pattern name and number. You will see pictures of other people who have made the pattern and therefore be able to see it in different fabrics and on shapes. It gives you a little idea of the versatility of the pattern.

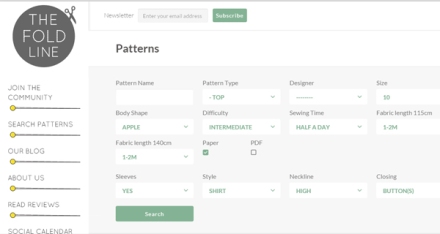
A new website has recently been released where you can search for patterns from lots of different websites called The Fold Line. It has a fab search tool which shows loads of pattern companies I never even knew existed and I love it!

Foldline

Here are a few places I buy patterns from…

www.simplicitynewlook.com – My go to for commercial patterns

www.weaverdee.com – They always have great sales on patterns and fabrics

www.sewaholic.com – A Canadian independent pattern company who make gorgeous designs

www.guthrieghani.co.uk – Home of lots of gorgeous independent patterns

www.burdastyle.co.uk – A great community of both pdf and paper patterns

www.tessuti-shop.com – Great for easy to wear PDF Patterns.


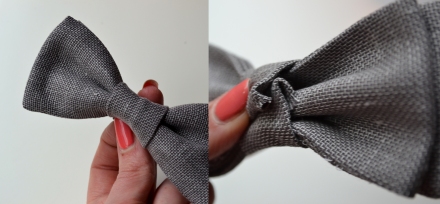
Make for Your Man… How to make a bow tie

14

Lots of people don’t believe in Valentines day and the way it has become so commercial, but I think if there is an excuse to tell someone you love them… why not take it!?

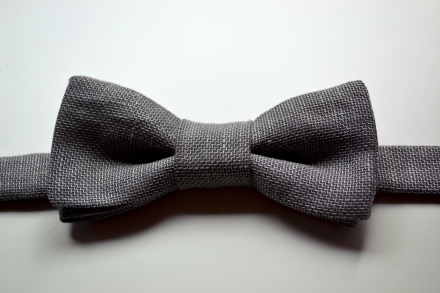
Bow Tie

So, just ditch the commercial bit and make something for your man this valentines. Handmade gifts are so thoughtful and he will love it… and look great in it too!

WHAT YOU NEED…

1

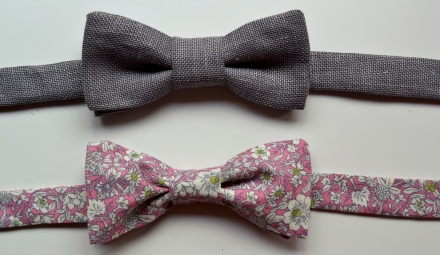
Fabric – if you use a thicker fabric your bow tie will be more plump! I have used a blue/grey linen for this example and I am really pleased with the results.

I got my linen from Fabworks in Dewsbury and the floral above from B&M Fabrics in Leeds Market.

CUTTING:

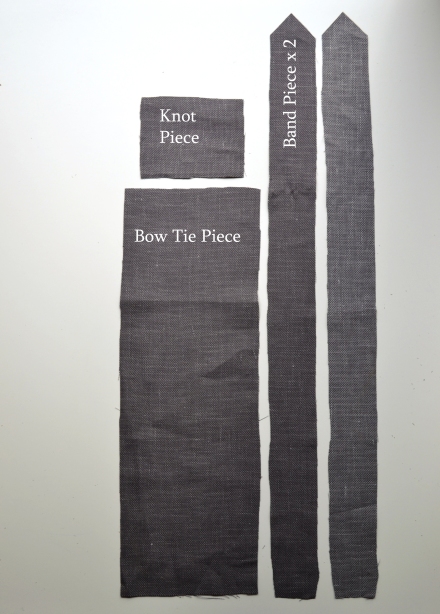
Cut pieces of fabric:
1 x Bow Tie: 12.5cm x 37.5cm
1 x Knot: 9cm x 7.5cm
2 x Band = 54cm x 4cm (Cut this piece to a point at one end)

STITCHING:

1. With right sides together fold the Bow Tie piece in half length ways and press.
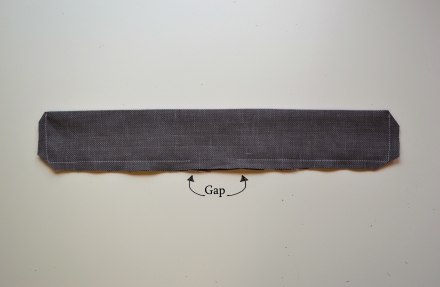
Stitch with a 1cm seam allowance around the cut edges, leaving a gap to turn through. Repeat with the knot piece.

Stitch and leave a gap

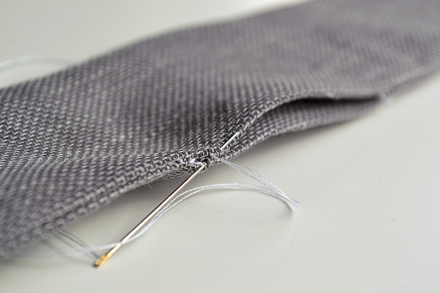
2. Clip your corners and turn through the gap to the right side showing. Hand stitch the gap with a slip stitch. Repeat on the knot piece.

Slip Stitch

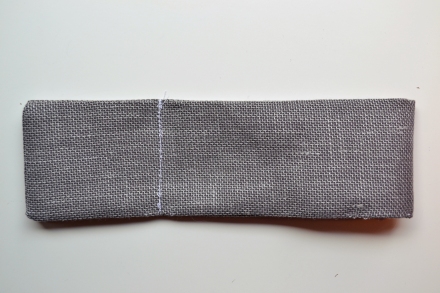
3. Fold in half width ways and measure 6cm from the non-folded end. Then stitch together at 6cm.

Stitch Bow Tie

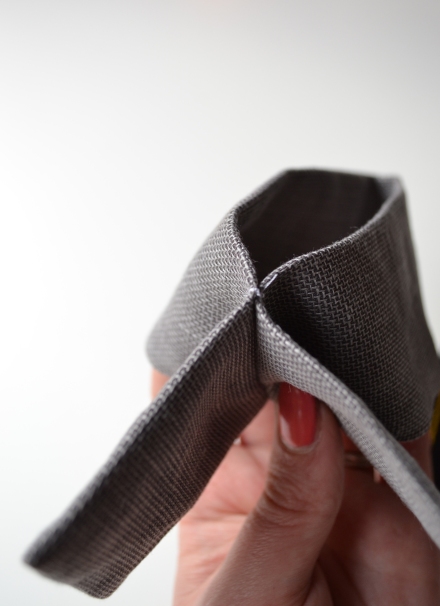
4. Open out the ends to bring the line of stitching to the centre…

Open Bow Tie

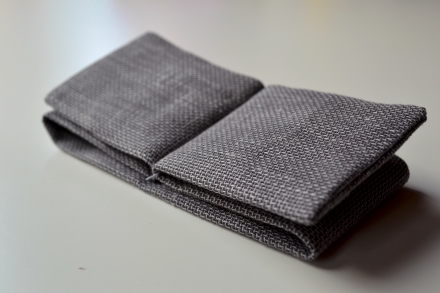
5. Lay flat and ‘stitch in the ditch’ to fasten in this position…

6

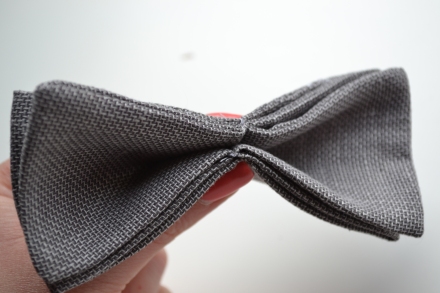
6. Pinch the bow tie to make a pleat in the middle.

9

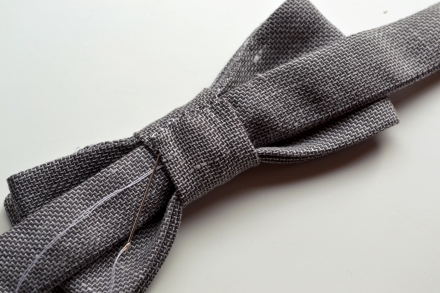
7. Wrap the knot around the bow tie and hand stitch to secure.

10

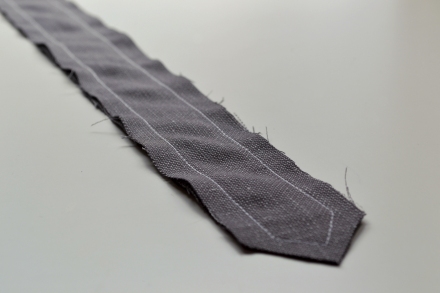
8. To make the band… with right sides together stitch the 2 band pieces together, leaving an opening at the non-pointed end to turn through…

7

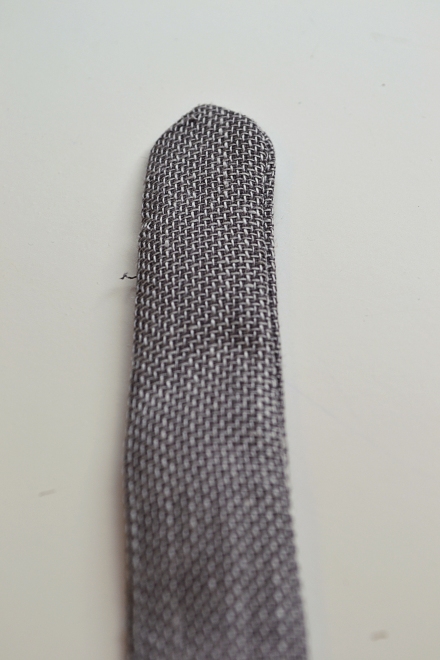
9. Clip the corners, turn through and press. Then hand stitch the open end, closed…

8

10. Thread the bow-tie onto the band and secure with a hand stitch if needed…

11

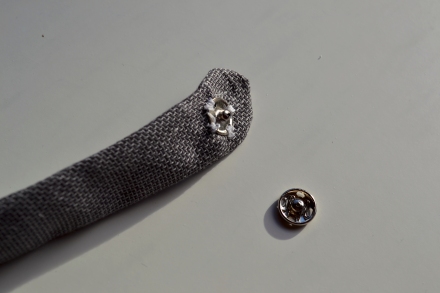
11. Add a popper at the end to fasten…

13

Tah Dah… You have made a bow tie! Package up in a pretty box and give to your man. I found it easier to leave the popper off until I had given the bow tie to my hubby so I could get the length of the tie fitting perfectly.

Bow Tie

How to make a simple drawstring bag…

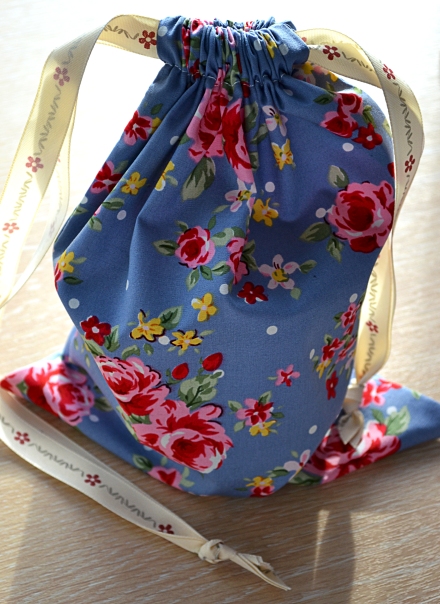
Drawstring bags are one of my favourite things to make, one: because they are so easy, and two: because the possibilities are endless. A simple homemade drawstring bag can give any gift the personal touch, or make a messy toy room tidy again. You can use up small pieces of left over fabric, or it is great for Fat Quarters you may have stashed away somewhere. I love these drawstring bags and hope you do to. I would love to hear what you will be putting in yours…

Make a Drawstring bag

Just follow the steps…

Step One…

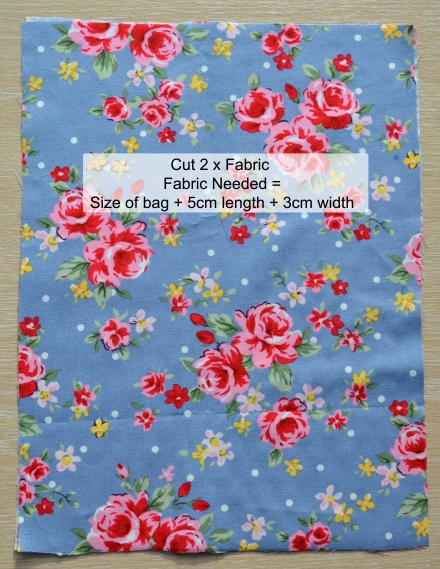
Cut Fabric Size


Step Two…

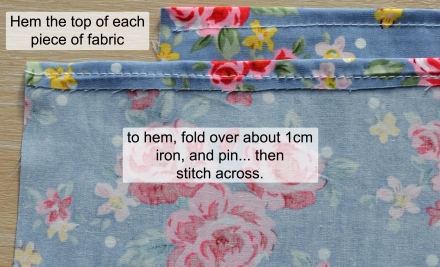
Hem Top Edges


Step Three…

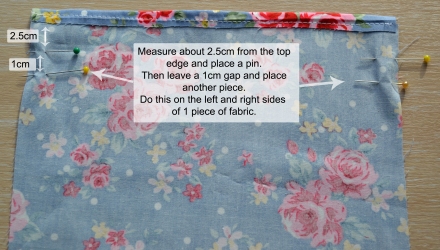
Measure Ribbon Holes


Step Four…

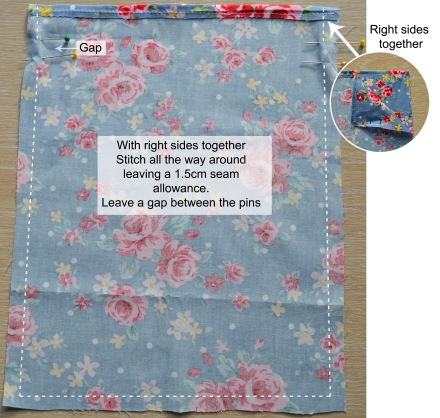
Stitch your Seams


Step Five…

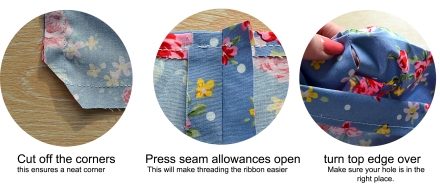
Press Seams and Turn


Step Six…

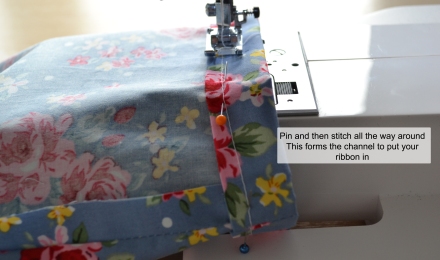
Stitch Top Channel


Step Seven…

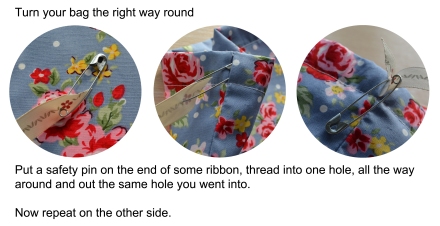
Turn and Thread Ribbon


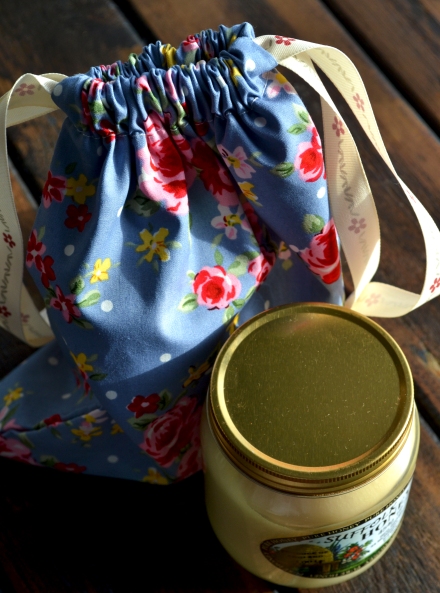
Now you have made your drawstring bag!… What will you use yours for? I have decided to give mine as a housewarming gift for my friend. My Dad keeps bees and she just loves his honey so I am going to give her some honey in my homemade drawstring bag… I hope she likes it!Gift with Honey

Our New Studio

After we received the news that the venue we hold our Sewing Classes in Leeds had been sold and we could no longer hold them there, we searched high and low for a suitable place. It was a long search and nothing seemed quite right, or was right… but at the wrong price! What I really wanted was my own place, somewhere I wouldn’t have to rely on anyone else, somewhere I didn’t have to travel to… and that is when the idea of the Sewing Studio was born!

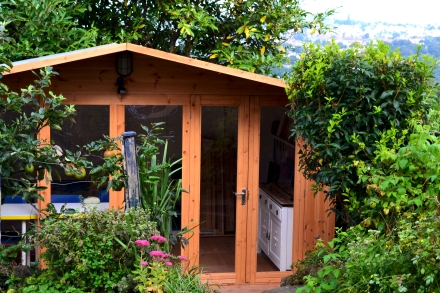
Studio Landscape

We recently moved house to a lovely 1930’s semi-detached house on Rock Lane in Leeds, and although there is a lot of work to be done, I just knew it would be the perfect home for us. At the bottom of the sloped garden was a step down, about 22 foot wide and 10 feet deep. This would be the perfect place to have a studio to hold my classes in. Yes, there was a pond and a massive cherry tree to remove… but hey, I have a husband for that!

Overgrown garden Pond etc

The biggest difficulty was digging the trench for the electrics to run from the house to the garden… 2 feet down and thick clay soil with lots of rockery. Mitchell attacked it with a pick-axe and after a run in with the washing line, it was off to A&E… ouch!

Pick Axe

After clearing the jungle that was the garden (the house had been stood empty for a while, after its hoarding owners had vacated!) it was time to lay the base. 2 tons of hardcore wheel-barrowed down the garden and what seemed like a mountain of concrete later and the Studio had somewhere to sit.

Then on the magically day when the studio is delivered and it is to be erected in all its glory… the skies opened, but hey, we’re british!… We don’t let a bit of water get in our way, oh and did I mention, we are due to have classes in here in a week!?

9 Pictures

And whilst the men worked hard… Mum provided lunch and tea-a-plenty!

Once the studio was up it time for the technical bits… electricity and lights. Then… my favourite part of all… making it pretty!

Inside the Studio Photos

I cannot thank my Dad and my Husband enough for all the hard work they put into making my dream come true. We have now held 2 classes in the new studio and it seems people love it. A few more decorations needed to brighten it up, but I guess that comes with time.

Inside the Studio

It just goes to show that if you have a vision, and a Husband and Dad with a bit of muscle, you can achieve your dreams.

the perfect setting

We look forward to sewing with you in our new Studio soon x

(…remember… it’s not a shed!)

Pressing Flowers

If you have received some flowers today and like me love them when they are in bloom but wish they would stay that way forever… pressing flowers is for you. Its a true vintage hobby, with pressed flowers found in antique books… and it can become addictive.

Remember, its only good to press flowers which are in full bloom, but sacrificing a few heads from a bouquet is worth it.

Flower Pressing 2


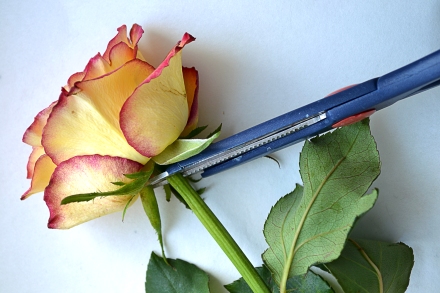
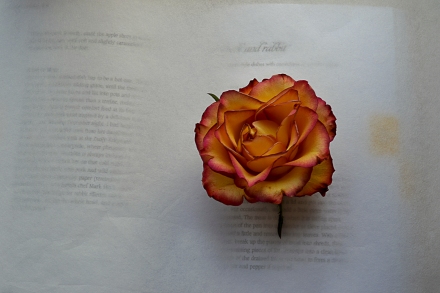
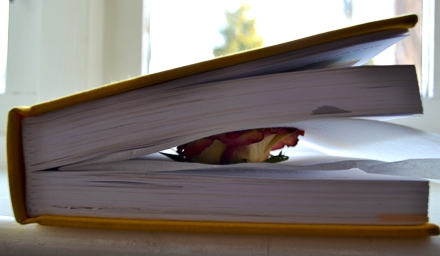
Snip the head off one of your flowers. Open a heavy book and cover the pages with some blotting paper or kitchen roll and place the flower head inside the book. You can add some leaves in too if you like.Flower Pressing 6 Flower Pressing 4Flower Pressing 5

Close the book and rest more heavy books on top. Leave it for about 4 weeks or more and then your flower will be pressed.

All we need to do now is wait 4 weeks to find great ways to use pressed flowers…

Vintage Sewing Patterns


I just spent the whole afternoon looking at MaddieMod patterns on Etsy. It started with a request from a friend for a backless maxi-dress and finished with the realisation the whole afternoon had disappeared and my green tea had gone cold, but it was worth it.

il_570xN.328483637

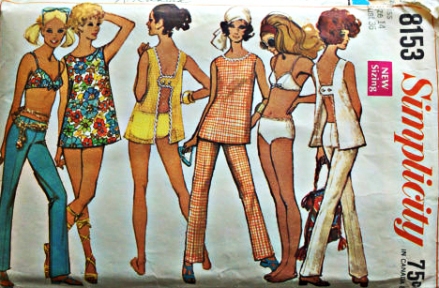
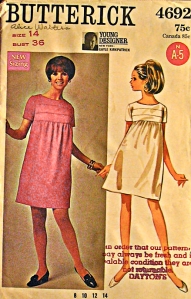
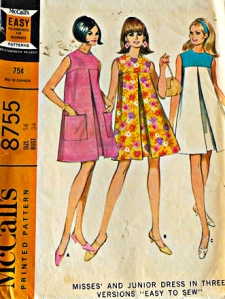
Just looking through the images of vintage sewing patterns makes me fall in love, I love the style of them. The way the models have their hair and make-up done… big eyelashes, beehives and bendy waists. I am not sure people will look back on the sewing patterns of today with such fondness. They seem to have the same feel, even though just drawn, as models in a magazine and I just adore them…

Simplicity 8153


Of course… the fact I can actually make the item of clothing shown just completes the package. I have a particular love for 1960’s patterns, not just the pattern envelopes, the style of the clothes suit my body shape and I find the clothes are easy to wear but still look stylish. The 1960’s shapes are so classic and flattering I think they will always be fashionable. The shift dress patterns made in modern fabrics translate really well into clothes for today.

Butterick 4692McCalls 8755


If you are thinking of buying vintage patterns to make then remember… sizing from any era will be different from today, so always check the size measurements rather than just the number. If a dress is fitted on the bust (like the ones above) then go by the bust size. If you are making a skirt or trousers fitted on the hips go by your hip size.

Try to imagine how the dress will look in modern fabric. I always concentrate on the shape of the dress and the way it hangs. Most of the time you wouldn’t even know an item of clothing has been made from a vintage pattern, except I think it has a more individual, designer feel to it, far superior to buying vintage clothes. It’s the ultimate… vintage cuts, in modern fabrics.

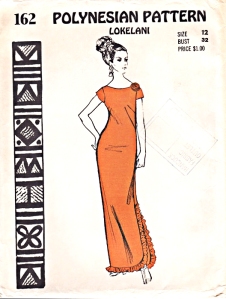
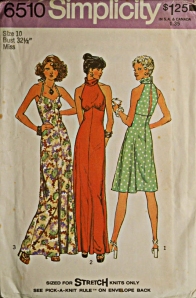
Polynesian Pattern Lokelani 162Simplicity 6510


…and then there are the patterns where you can’t ignore the vintage fabrics, the ones you buy, but haven’t quite plucked up the courage to make in bright yellow fabric or orange and purple crochet…and it would be sacrilege not to. Sometimes these are the ones I collect just because I love the eccentricity of them.

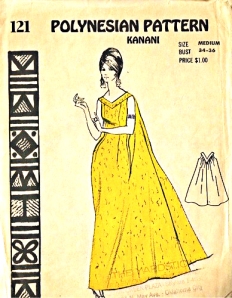
Polynesian Pattern Kanani 121 Golden Hands Pattern


and each pattern I find just reminds me to never throw out a pattern… ever.

Have you made a vintage pattern? Whats your favorite era?


Green Fingers… Sowing not Sewing

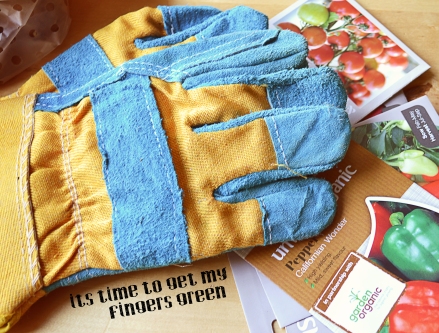
Now its February this is the time when I start to think about spring coming and getting ready to work towards my dream of growing my own vegetables. Its been about 2 years since I have been interested in growing my own, but they haven’t been 2 years of successful growing… that’s for sure. I tend to always have 1 really successful crop and the rest I either forget about or have sown too late to get good fruit. So this year I am sowing early… although its not really early, its on time for most gardeners but early for me! This year I am determined to be a success…

Green Fingers Title

I have started by sowing Tomato, Sweet Pepper and Chilli…

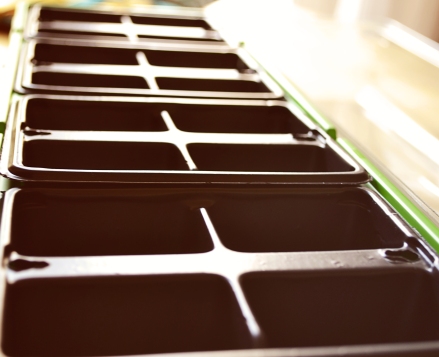
Empty Tray


I have decided to sow more seeds than I require, for the chilli plants I thought that even if I have too many I can always give them to people as gifts.

I have also sown several varieties of tomato, I love the look of a salad with yellow and red tomatoes in, so I have decided to grow both.

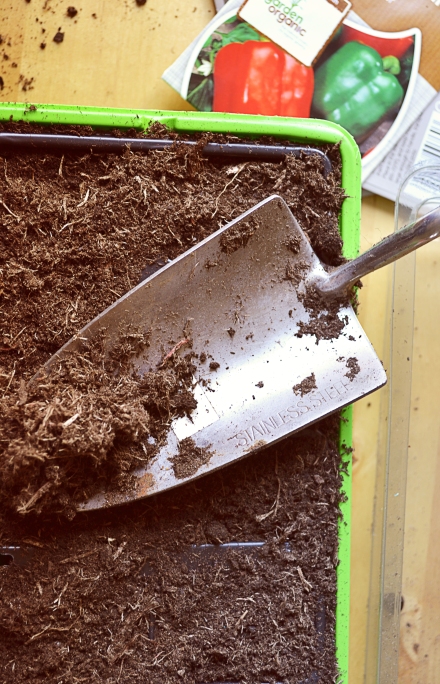
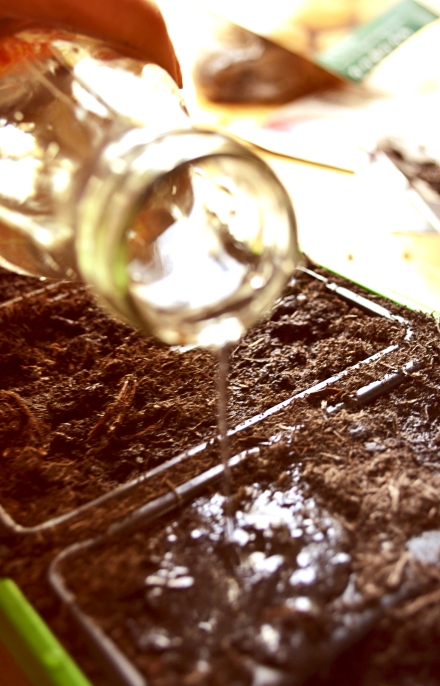
Fill with soilWater


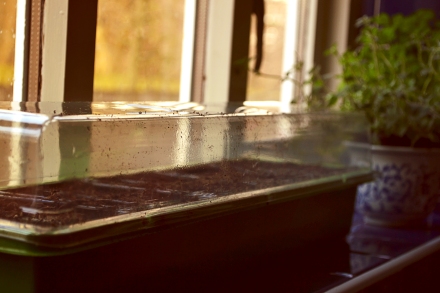
To get the seeds to germinate I have popped them in the airing cupboard as it can be a bit cold on the window sill, but as soon as they are starting to grow through the soil I will put them on the window sill.


Pop on the window sill


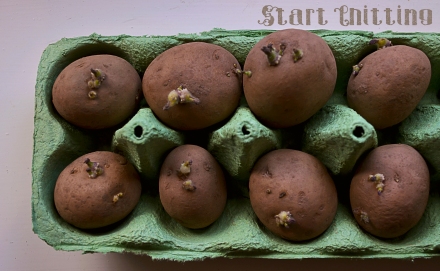
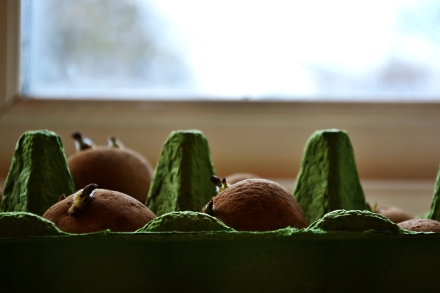
I have also started chitting my potatoes. I have never grown potatoes before but have read a few blogs and some really good books and they advise chitting for 6 weeks before planting them so here goes…

Chitting PotatoesChitting Potatoes sill


Wish me luck with my veggies… and I will let you know how I get on x

Chinese New Year… Invitations

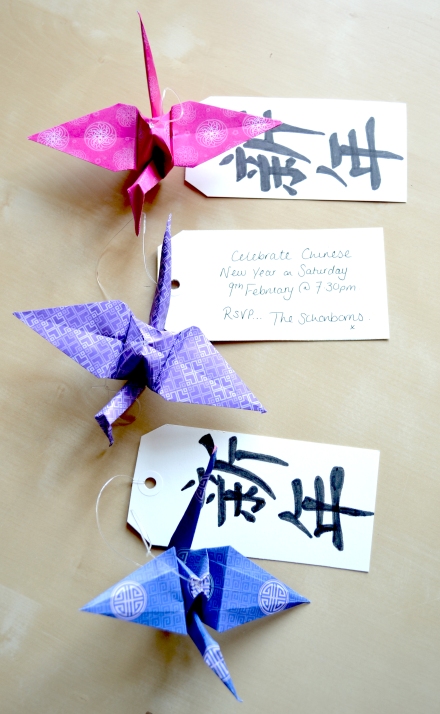
February 9th sees us entering the year of the snake in the Chinese calendar. I have never celebrated Chinese new year but this year I have decided to go all out. I will be inviting friends round for a meal with some festive touches to make it special.

It all starts with an invitation…

Chinese New Year Invitations

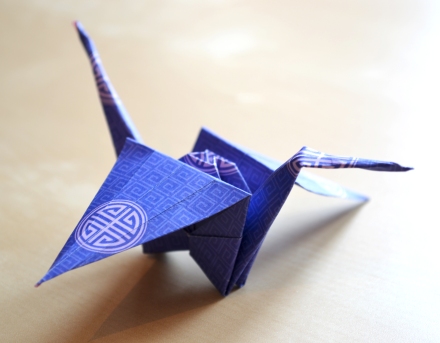
Now… I know what you’re thinking… isn’t an origami crane Japanese? Well yes, you are right but they look so cool and unique I couldn’t resist.

I got some origami paper packs on ebay and looked up this tutorial and folded away.

Origami Crane

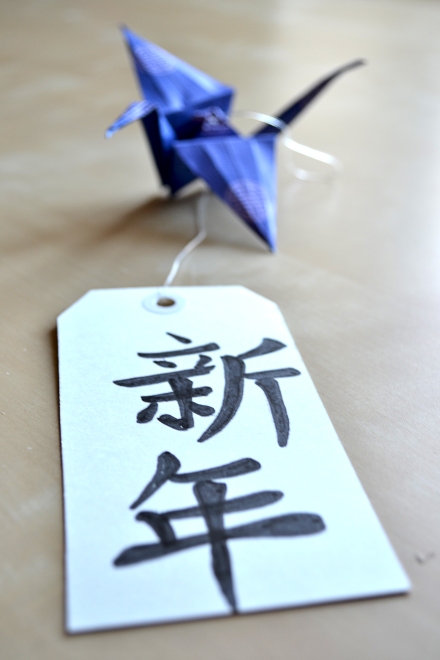
Using some clear jewellery thread I threaded through the crane’s back, tying a knot at the bottom and top so the crane doesn’t slip down the line.

I used a parcel tag at the bottom as the invitation card and tried my hand at writing ‘New Year’ in Chinese to add a festive touch.

Origami Invitation with Tag

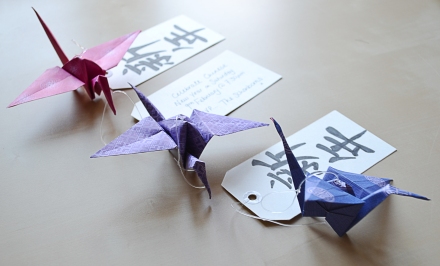
The perfect invitation people can hang in their window and get excited about the  party to come.

Final

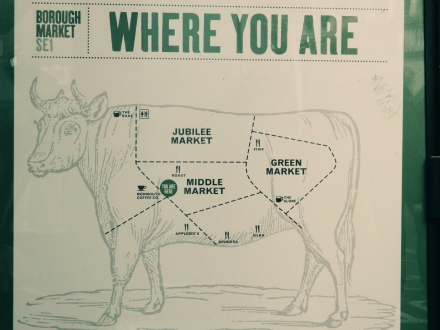
Borough Market, London

A few weekends ago I was invited to London to a civil partnership of my Brother-in-Law and took the opportunity to take a peek at Borough Market. I was so pleased I did. If you ever get the chance head down at lunch-time and eat your way round!…

Where you are

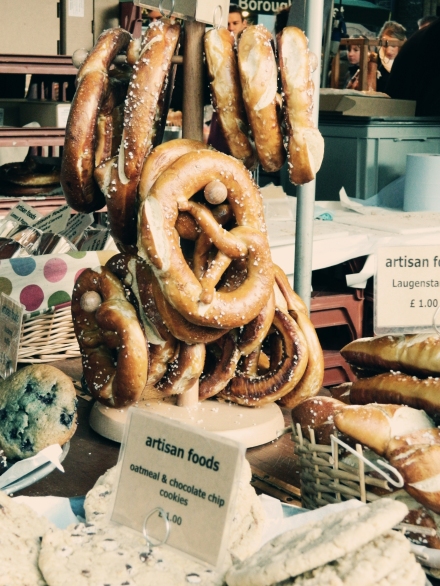
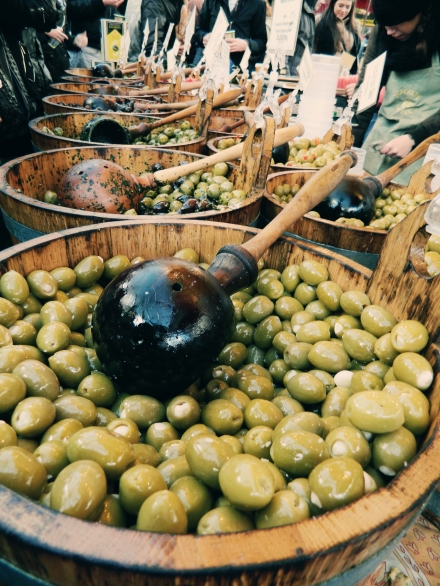
Everywhere I turned there was something to indulge my senses, a new flavour to indulge in… and I did…

PretzelsOlives

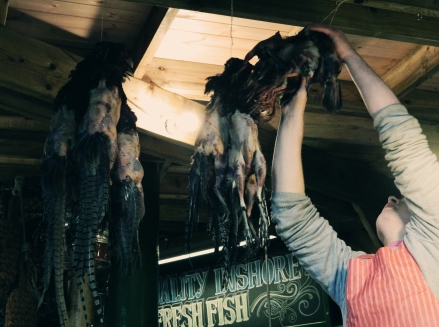
GameIt was great to see old fashioned techniques still being used today and sellers passionate about their trade, the atmosphere was amazing. Just when I thought I had soaked in as much as I could, a splash of vibrant colour lifted me to another level… and we sipped on Prosecco and soaked it all in!

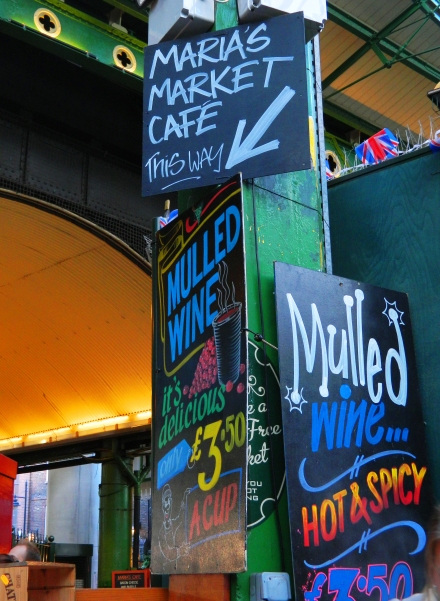
Marias Market

Prosecco

Good food, good drink and good company… just the ingredients I need.

Thank you for visiting

It was great to be a part of such a great shoot with Margaurita Photography and Our Munch… Here’s Margaurita Photography’s finished product of our wonderful Alfresco Dining…

Margaurita Photography

You know by now that I myself read blogs and find so much inspiration from them. When I first came across Alfresco Dining via  Oh Happy Day I knew that I wanted to do it. An open space simply dressed with good food and great company? Yes please. So I started putting the feelers out and it didn’t take long to have a dream team who wanted to try it to. Myself along with Jess from The Sewing Sessions and Billie and Mitch from Our Munch put our heads together, created a pintest board  and started planning.

We wanted it to be close by so we walked through the woods near where we live and we when we walked across a certain blank canvas we both started pouring with ideas. Sharing a creative vision with some one is so much fun when you are on the same page. Below is the…

View original post 379 more words